
These are the instructions to root Samsung Galaxy S7 SM-G930S (running on android 7.0, built id NRD90M.G930SKSU1DQD3) using Odin on Windows Computer.
Requirements: Your Samsung Galaxy S7 SM-G930S should have atleast 30-40 percent of battery to perform the rooting process.
Root Samsung Galaxy S7 SM-G930S using Odin
Step 1: Download and Install Samsung USB Driver on your computer. If Samsung USB Driver already installed on your computer then Skip this Step.
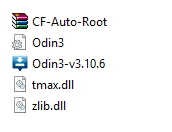
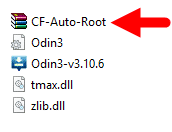
Step 2: Download and extract the root files on your computer. After extracting you will be able to see the following files:
Step 3: Now, Switch off your Smartphone.

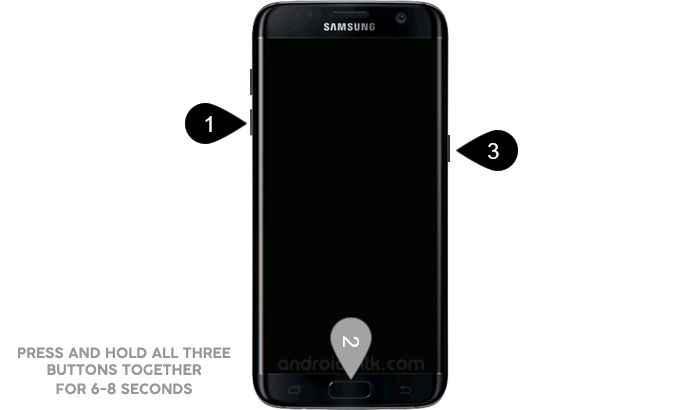
Step 4: After switching-off the phone, you need to boot into Download Mode. To boot into download mode Press and hold Volume Down, Home and Power button at same time for 5-8 seconds until download mode is active.
Step 5: In the Download mode you will be able to see a Warning Yellow Triangle Sign. In this situation you have to press the Volume Up key to continue.

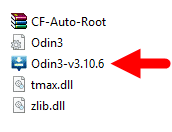
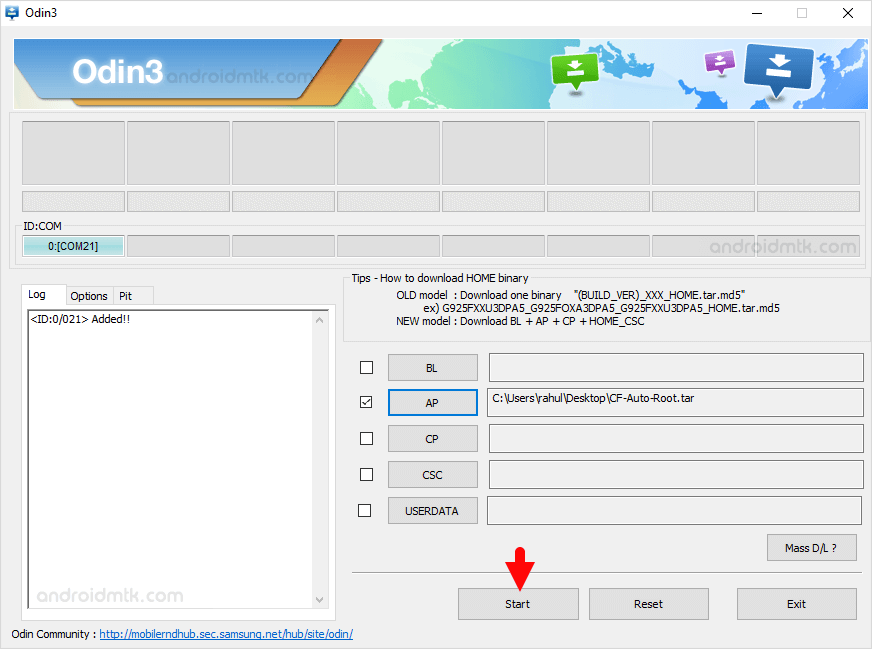
Step 6: Now, Open Odin3 (found in the extracted files, that you have downloaded in the Step#2) on your computer. Then connect your Smartphone to the computer.
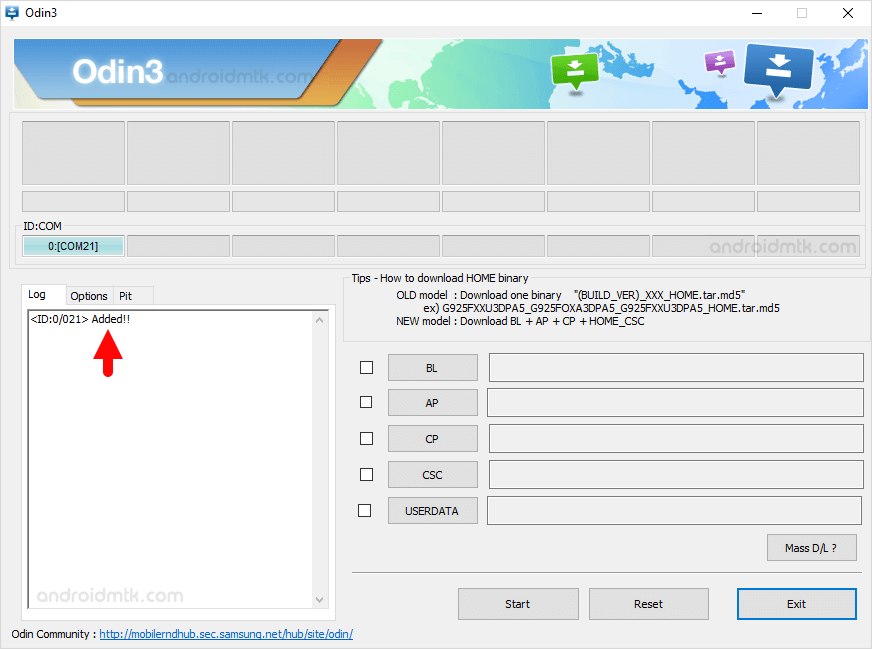
Step 7: Once you have connected the Smartphone to the computer, Odin will automatically recognize the device and show “Added” message at the lower-left panel.
Step 8: Once your device detected by Odin, click on the PDA button and select the CF-Auto-Root.tar file (you have downloaded this file in step#2).

Step 9: Now, click on the Start button in Odin to begin the Flashing.
Step 10: Flashing usually takes 30-50 seconds to complete the rooting process on your Samsung Galaxy S7 SM-G930S. Once Rooting process got completed, you will be able to see a Green Box with Pass written on it in Odin. During this process Smartphone will re-boot automatically.
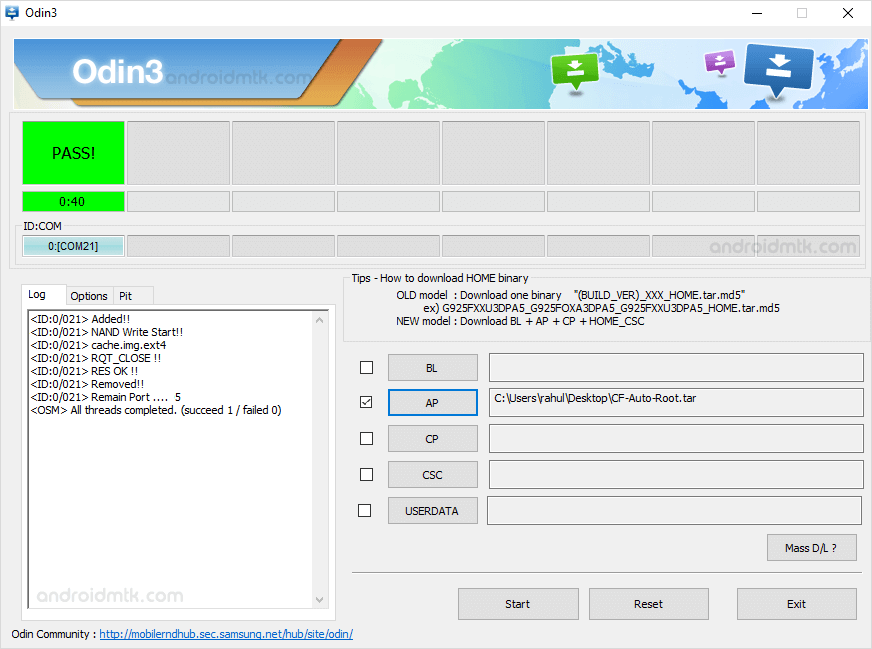
Step 11: Once you see, the Pass message in Odin, you can disconnect your Device from the computer.
Step 12: Now, to make sure you have successfully rooted your Samsung Galaxy S7 SM-G930S, open Applications Menu on your Smartphone and Find SuperSU App. If this app exist on your Smartphone then it means you have successfully rooted your device. Congratulations.

Optional: You can also verify the root status of your device by using the Root Checker Application.
This is dummy text. It is not meant to be read. Accordingly, it is difficult to figure out when to end it. But then, this is dummy text. It is not meant to be read. Period.